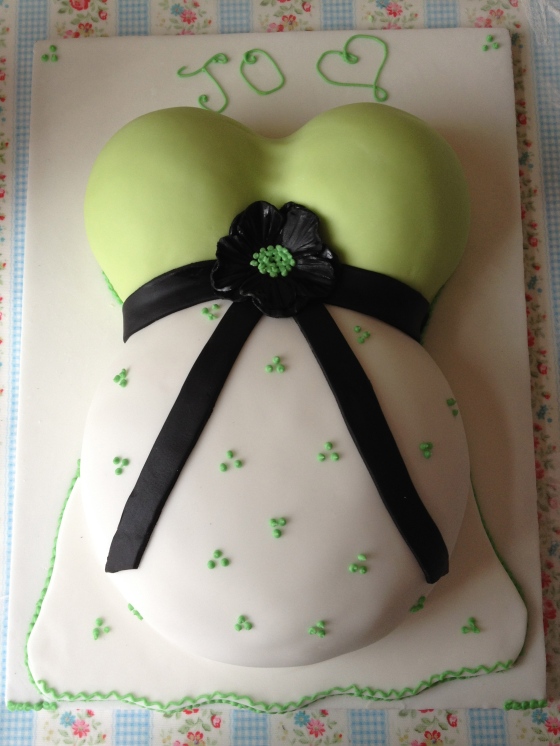
When thinking of ‘leaving to have a baby’ cakes I have seen in the past, traditional pink and blue square cake with abc blocks or a dummy for decoration = a tad predictable maybe? I wanted something a little more modern for a cake I was asked to make for a lady I used to work with as she breaks up for her maternity leave.
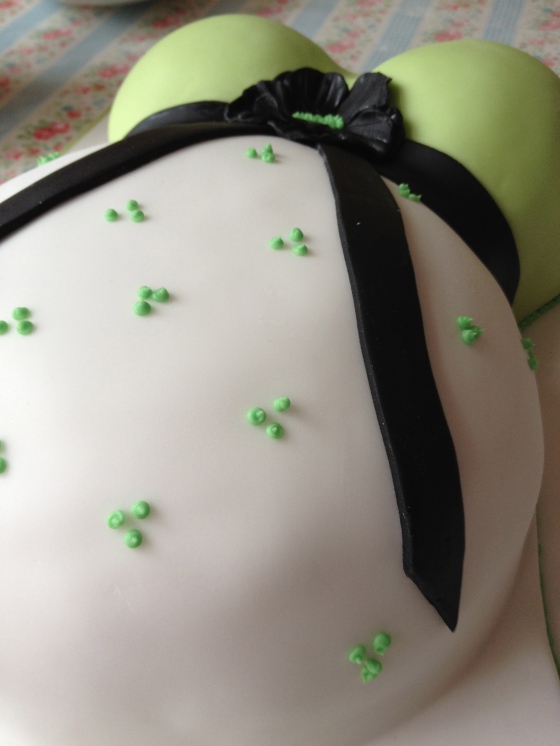
After looking around for some inspiration I kept coming across ‘Baby Bump’ cakes. Initially I found them a little creepy, but done well, they can be super cute and really flexible for decoration and colours. There’s no pink or blue here – the babies gender is not known – so I’ve gone for a modern edge with a lime green bust, white skirt and black ribbon and flower detail.
Now for the science bit………
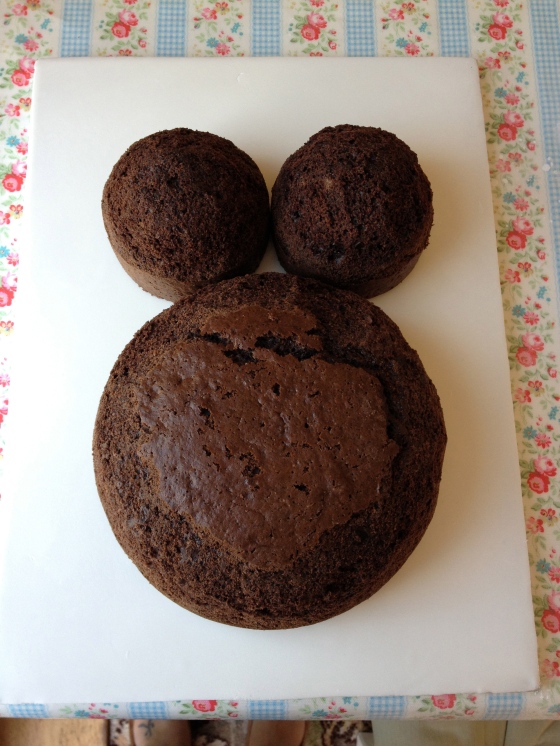
Some have used wilton football pans & large cupcake pans to create the bump and boobies of this cake. I don’t have either of these pans and was certainly not going to go out and buy them specially so don’t despair if you don’t have them either. I used a 8″ deep round tin for the bump and 2 x 4″ pie tins (both lakeland) for the bust. Normally when baking, if you get a dome on the top of your cake it can be pain, not today! Go with it and trim the cakes into shape with a bread knife until your happy with your torso’s new curves.
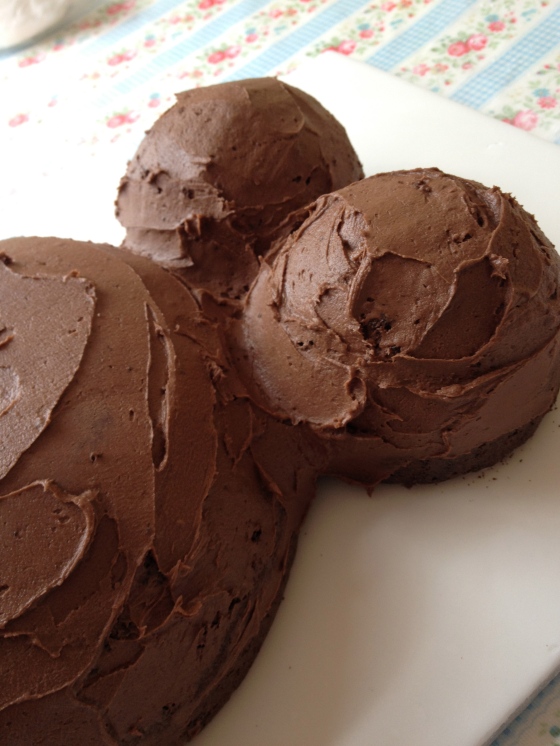
I have used a chocolate cake with chocolate buttercream filling. Whatever filling you choose, make extra so you can frost the entire cake to join the shapes and give it a nice smooth shape. I’ve said it before and I’ll say it again…. if your cake isn’t the right shape before you cover it in fondant, it certainly won’t be the right shape after covering it either. After frosting, pop it in the fridge for about an hour.
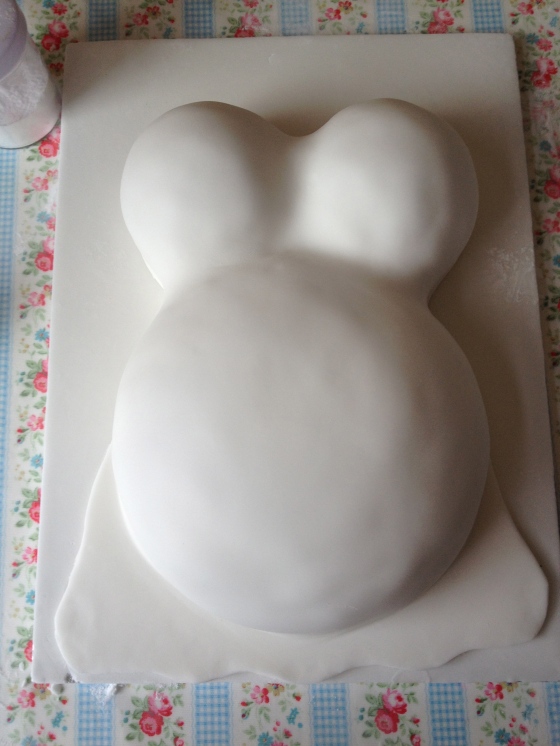
I like to ice the board as well when I can, which I did here before frosting. Now for covering. Cover completely in your base colour – in my case white. Trim and shape the skirt.
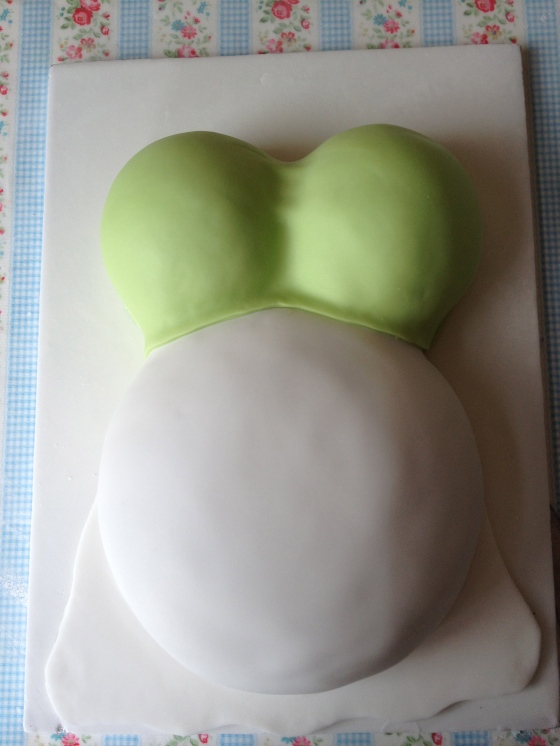
Roll out your contrasting colour and trim one edge so it is straight. This edge will sit under the bust. Cover the bust.
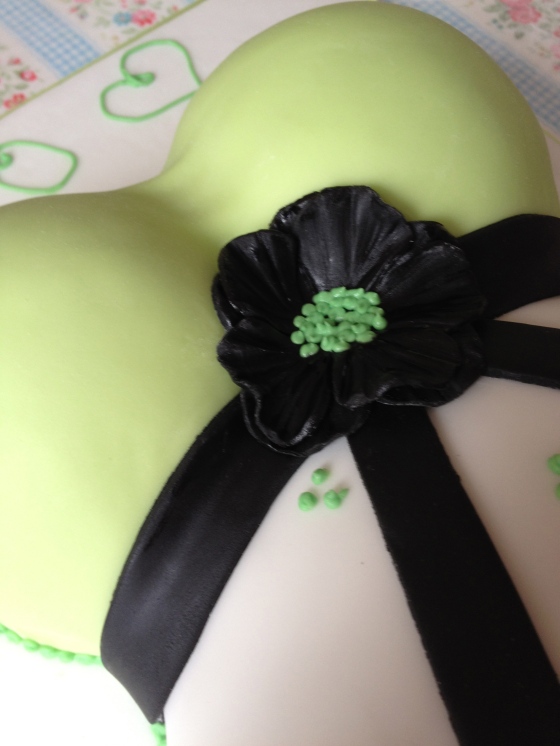
Roll & cut some 1″ strips in your ribbon colour and lay on across the under bust line. Use two long strips for the lengths of the ribbon. The flower was made using a 2.5″ flower cutter and fluting the edges with a cocktail stick, then piping the centre in royal icing. Finally finish as desired with any royal icing piping or boarder and a nice ribbon round the board.
Bye bye tummy, hello mummy!

