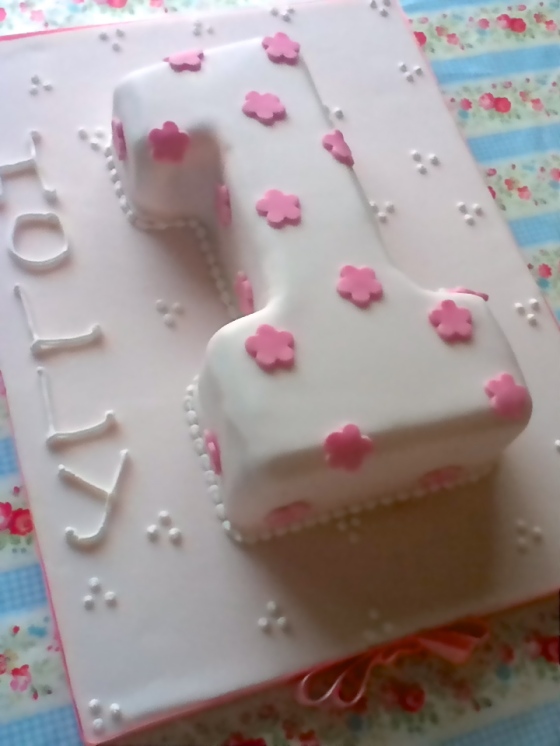
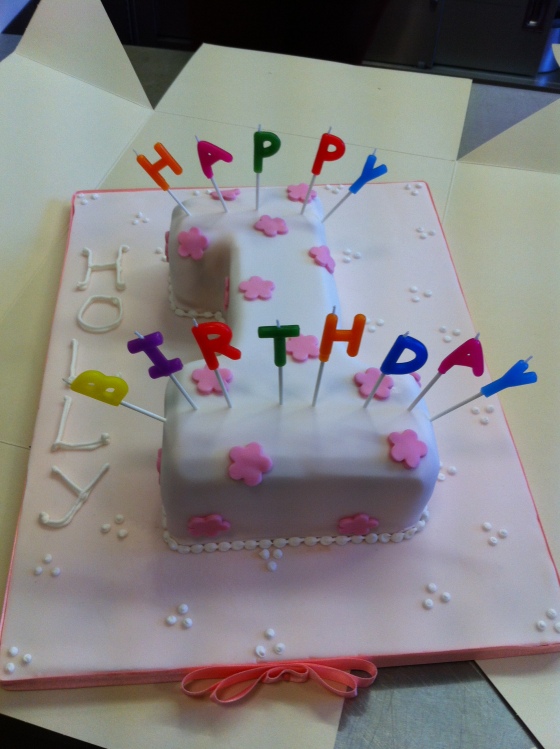
Girls Pink Flower First Birthday Number 1 Cake

This time last year I was in the Birmingham Queen Elizabeth hospital visiting my niece Holly who was just a few hours old. Having been an Auntie for a full 12 months it made me realise how much has changed since then. I got married, started a new career, took my first holiday abroad in 12 years, found a stray kitten in the street…….and have continued to hone my cake decorating skills. Little by little. I’m still not amazing but I do try to give new techniques a go whenever I can.

I’ve only used number tins once before so still don’t feel utterly confident with them yet. I struggle with baking times as it’s not as predicable as baking in a round or square tin and some of the shapes can be a pain (to put it nicely) to ice with fondant.

As they say, practice makes perfect I guess. Pretty pleased with todays results though:

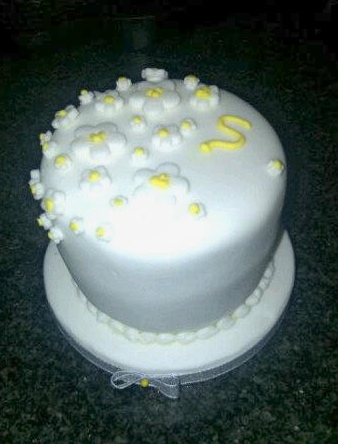
Petit Lemon Daisy Cake

4″ iced lemon cake with lemon curd and buttercream filling. This is great gift size cake, petit I like to call it. They are becoming more and more popular. This particular one was done for my friend Lauren for her mothers birthday and was decorated with white sugar paste, white & yellow daisies and personalised initial detail in royal icing.

I always get the most comments about lemon cakes. They are delicious.

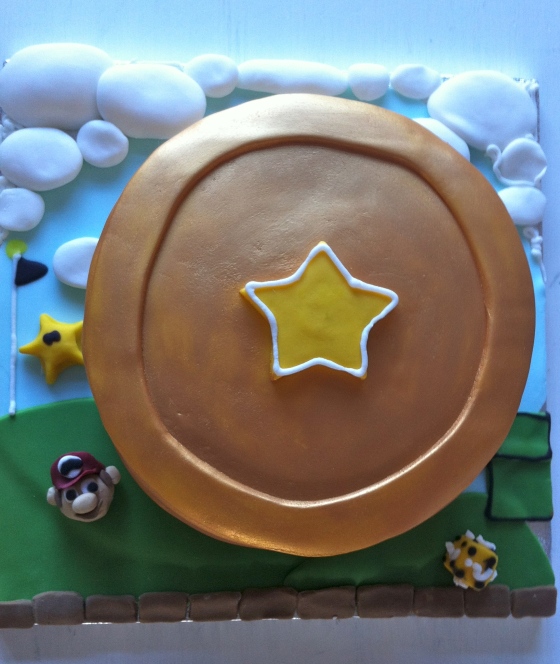
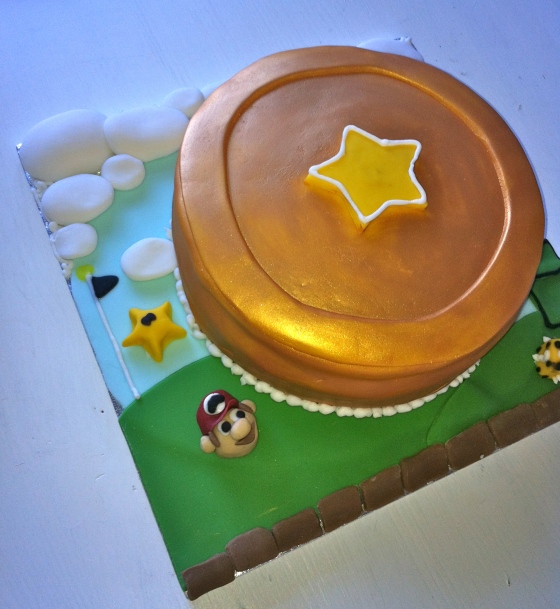
Mario Gold Coin Birthday Cake

I made this cake for Hubby’s 11 year old son for his birthday in October. It went down a treat and was my first attempt at any real character based cakes so I was too scared to attempt a full Mario Face Cake so opted for a Giant Mario Gold Coin and Mario based background.

This was made with an 8″ round chocolate sponge covered with yellow sugar paste and brushed with gold edible lustre. I can’t really tell you how I made the background as it just seemed to evolve! Would love to hear your comments…

Star Wars Millenium Falcon Cake

Its the cake that puts the fear of dread into most cake makers. Normally the conversation goes like this…..

Friend: ‘Will you make the cake for my/{insert loved one here}’s  birthday cake?’

Me: Sure, what are you looking for?

Friend ‘The Millenium Falcon’

My Head: Argghhhh!

Me: Of course!

My Head: Oh my god – this cake is going to look like something you would see on cakewrecks.com

Well, it turned out pretty well as it goes. Although, it felt more like a piece of engineering at times more than baking. Here’s how I did it:
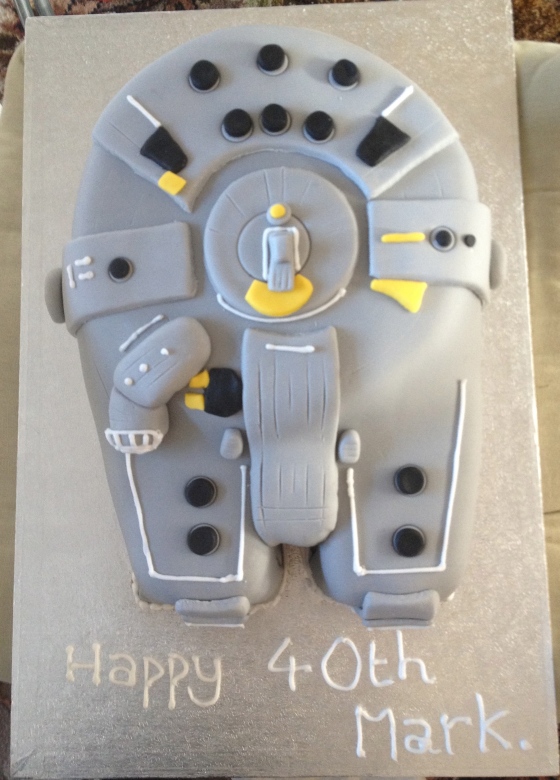
Make up enough cake batter to fill an 8″ round deep tin and a standard loaf tin.  The cake baked in the loaf tin will be used to cut out the front sections of the millenium falcon and it only needs to be about 2″ when baked rather than the 3″ of your round cake.

One baked and cooled, split the round cake and fill with butter cream and jam if required.  I made a chocolate cake for this one so it was filled with chocolate buttercream. Place the round cake off centre on a large rectangular cake board. Now use a bread knife and cut out two 3″ x 2.5″ rectangles from your loaf tin cake. Trim one side of each at an angle to make them wider at the top (this end will be attached to your round cake) and sloping down to a narrower end. Also cut a small 1″ square from the loaf tin cake which will be placed in between to two ends. Arrange them all on the board.  Feel free to use any left over bits of cake from the loaf tin to fill in any gaps and improve your shape.

Once your happy with the basic shape you need to crumb crust the cake with buttercream to cement it all together and give you a nice smooth base before going anywhere near it with your sugar paste.  So, slather it in butter cream and smooth it over with a palate knife, ensuring all gaps are filled and you have a good solid shape all over, right down to the board. Clean off any excess on the board with some kitchen roll.

Refridgerate for at least an hour, preferably overnight.

Remove from the fridge and start to prepare your sugar paste. You will need approx 1.5 kg of grey sugar paste and small amounts of black and yellow. Roll out about 1.2 kg of the grey to approx 1/4 inch thick and lay over the cake.  Gently smooth it round all the edges.  When you reach the two ends, I found it easier to cut a slit in between them with a knife to ease the sugar paste round these tricky parts. Smooth over the whole cake with an icing smoother or some sugar paste wrapped in cling film. Trim all the way round the cake.

Roll out the rest of the grey sugar paste and cut out a small circle for the middle, a larger semi circle which you can trim for the back of the ship, three 1″ wide long strips and any other bits you want to add on. You can either follow my picture or there are tonnes of pictures of the millennium falcon online so go as detailed as you want!

Roll out your yellow and black and cut out your other detail.

Pipe round the edge of the cake and add your final touches with piped white royal icing and score knife makes for extra detailing.

Quick Iced Mini Celebration Cake – Welcome Baby Holly!

Occasionally I have to make a cake in a hurry. A sponge cake with 24 hours notice is just about doable with no sleep, but to decorate a celebration fruit cake is another matter! I wanted to make a mini iced fruit cake for my sister to welcome her baby, so last time I made a fruit cake (about a month ago), I made a bit extra and used this to bake a small 4″ round cake. Just enough for her, her husband and hopefully me when I pop round for a cuppa and a cuddle with the new arrival! The cake was covered in marzipan and plain white sugarpaste and has sat in tin for the last 4 weeks waiting for baby to arrive.  They didn’t know if it was a boy or girl so I didn’t feel like I could decorate any further so I just waited for the inevitable call and plan the intricate design in my head………13 days late Baby arrives and I get a phone call at 1:30 am, it’s a girl! OK, so Sunday morning, I’m going to visit in a couple of hours so NEED to finish this cake! I do the kids breakfast, the washing, have a shower, then lunch and god knows what else and I end up with 10 mins, yes 10 mins to finish the decoration.

If you get caught out in a rush like this, keep it simple.  Whip up some royal icing, stick to one colour and use a plain nozzle. I decided to just use some simple iced pearls and an initial. And here it is, not what I had in my head at all but it did only take 10 mins. Don’t judge me!

For Baby Holly 1:11am 30.10.11 6lb 4oz