The Felt Gingerbread House update…..

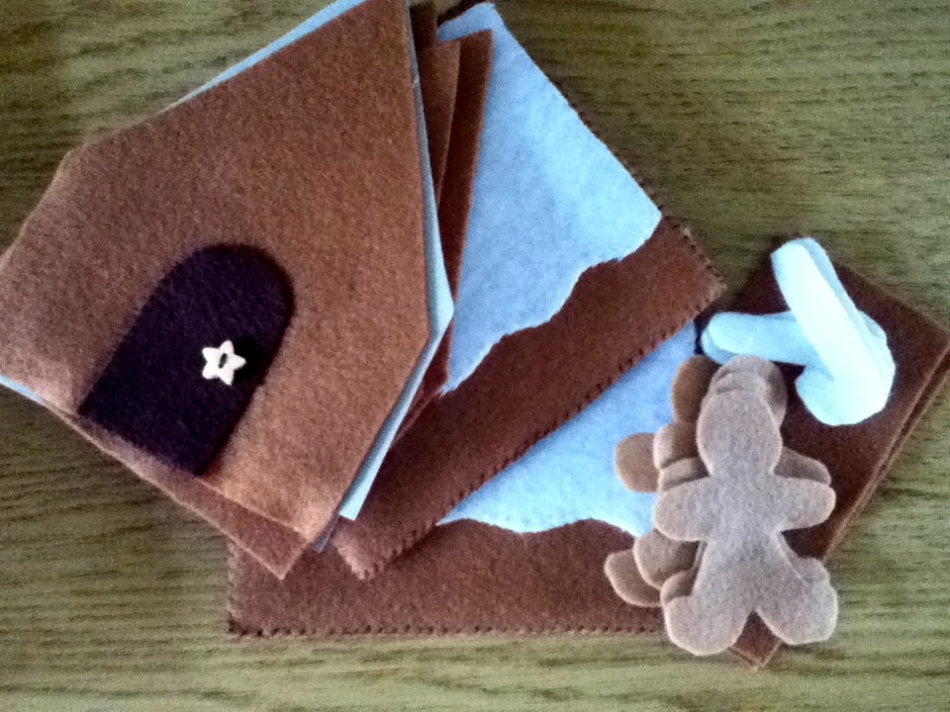
Well I started making the gingerbread house from Jeanette Lim’s Big little felt universe a couple of weeks ago and here is the finished article. I did some adjustments as I just didn’t have the time to sew on all the individual felt sweets to the roof – I would have been there til next Christmas!

I love that the roof comes off the store your gingerbread people and any other christmas bits you fancy.


Read my review of Big little felt Universe here

Big Little Felt Universe by Jeanette Lim – Book Review

The book shelf in my lounge is currently buckling under the weight of my growing collection of craft and cookery books. It drives my husband round the bend. My solution would be to have a nice ‘craft’ room of my own that I could hibernate in, surrounding myself with fabric and wall to wall books for every type of craft. A girl can dream.

In the mean time, I can just about squeeze a couple more in and ‘Big Little Felt Universe’ by Jeanette Lim is my new muse. I have recently been looking for some felt food patterns online when I stumbled upon Jeanette’s etsy shop which is packed with fabulous looking patterns for all sorts of felt food and toys. Struggling to decide which one to buy, imagine my excitement when I realised she had also published this book with Lark Crafts.

Image

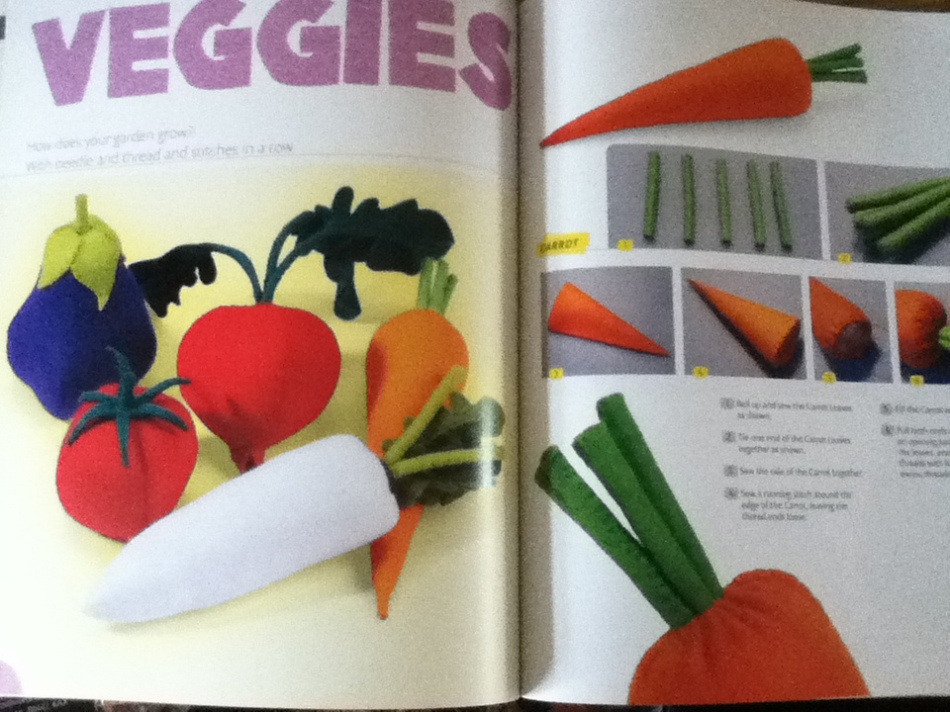
And what a craft book it is. There is not one pattern in the collection that I do not want to make. Each project is beautifully photographed with clear instructions, although some projects are trickier than others so maybe not all will be suitable for beginners. Most of the patterns are full size and even the few that aren’t can be enlarged or even measured out yourself as all the measurements are given.

ImageImage

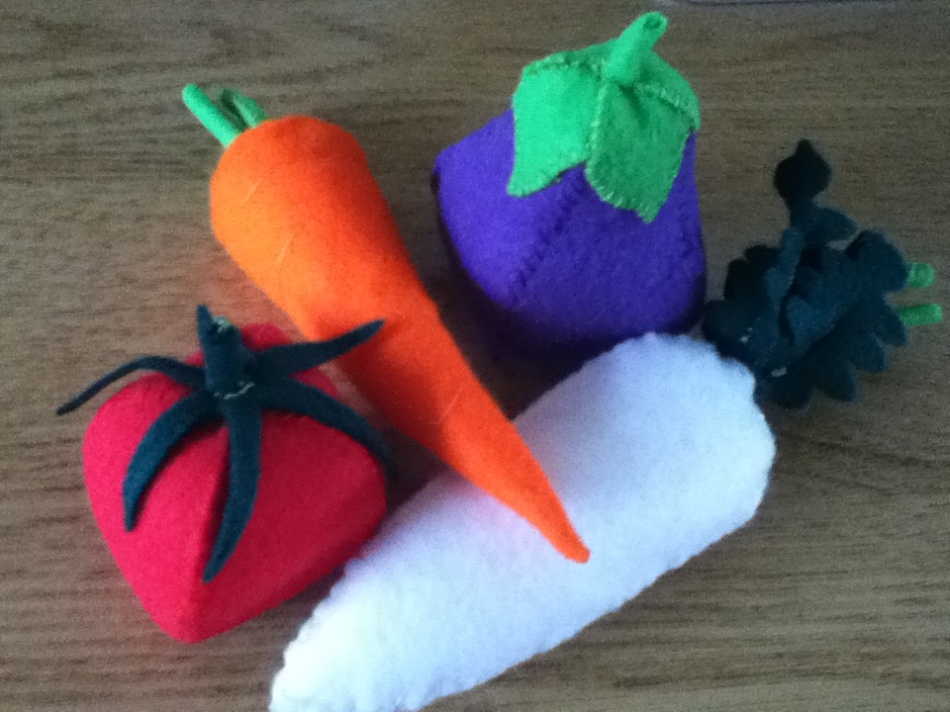
I started with the felt veg and the results are really pleasing. The patterns are sized really well and everything fits together perfectly. This really is a fun and exciting book of the felt food projects that you will really want – fruit, veg, cakes, tools, burgers and hotdogs and loads more. Great to start off in the wonderful world of felt food and then progress into Jeanette’s other etsy patterns. All will produce amazing toys that children will adore compared with the sad mass produced plastic offerings of most stores.

A must buy for any lover of felt.

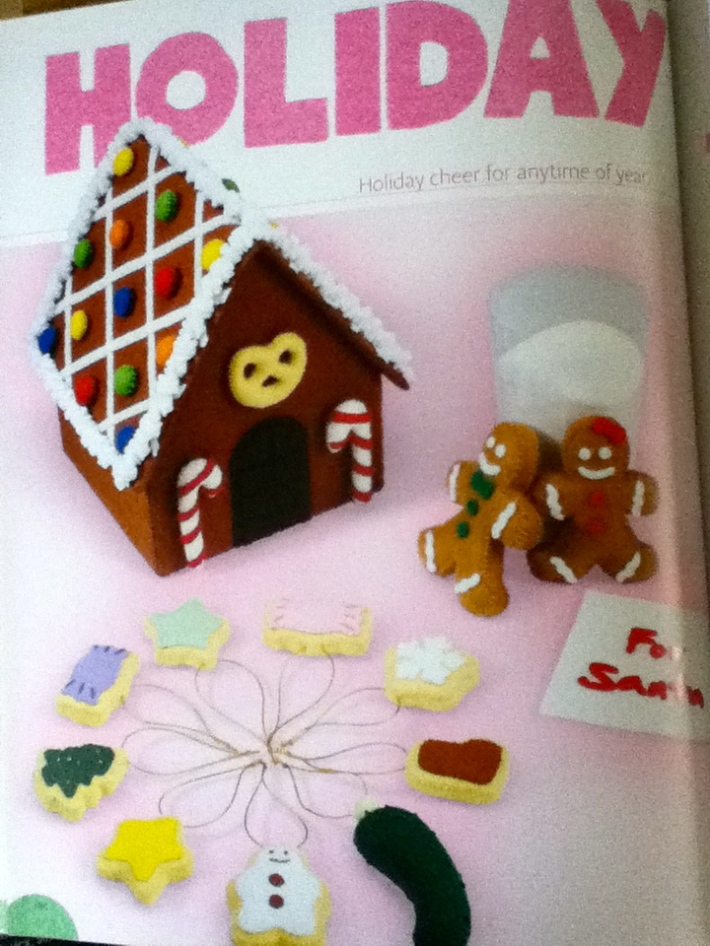
Next project for me is this super cute gingerbread house for the holiday season!

Image

Image

Felt Bear iPod Touch Pouch

Will the iPod touch get scratched on it’s first outing on Christmas morning? Knowing my kiddies the answer is yes. But in an attempt to keep them safe as they get knocked around in pockets and bags I have made them these cute felt bear pouches. Not sure how long they’ll last…….

Handmade Knitting Bag with Bamboo Handles

Mom – if you reading this then look away because this is part of your Christmas present and Santa won’t come if your naughty!

My wonderful mother has been keeping her yarn in a plastic Woolworths bag for about the last 35 years so I thought I’d treat her by making a nice knitting bag for all her wools. She loves this Cath Kidston print as it features Classic British Tourist spots including the beautiful St Michaels Mount in Cornwall. And we are both a little bit in love with Cornwall – well, aren’t we all?!

It’s made with Cotton Duck which is heavier and more hard wearing than standard haberdashery cottons. The handles are bamboo which I picked up on ebay for just a few pounds.

I have no pattern for this I’m afraid as I just made it up but I’m sure you can see it’s just a very basic rectangle shape with the top two corners taken off to allow it to shape round the handles.


Merry Christmas Mom!

Felt Hanging Bird Hanging Decorations

Yep the felt came out again the other day for some cute little hanging bird decorations. These work especially hard as they can multi task as Christmas decorations for your tree, add a touch of dried lavender and hang on your clothes hangers for a fresh wardrobe or even use for a baby’s mobile.

You will need:

1 sheet of beige felt

scraps of material

scraps of ribbon

buttons

embroidery thread

Soft toy filler

Draw your bird shape on a piece of paper and cut out for your template. You will be able to get 3 birds out of a standard 9″ x 12′  sheet of felt if you size it well.  Draw round you template 3 times then flip the paper over and draw round another 3 times.  This will give you a front and back piece for each of the 3 birds and enable you to hide any pencil or pen marks inside. Cut out your birds. Now cut three chest peices out of your material scraps.  I used this red floral print to give a christmassy robin feel but you can use whatever materials you have to hand. Pin the chest onto the front bird piece and stitch it on just around the top edge as pictured below. Sew on a cute button for his eye. Now take a 20 cm piece of ribbon, fold it over and tuck it between the front and back bird pieces. Pin together. Blanket stitch round the bird in a contrasting colour, leaving a 4cm gap to fill him.  Add some stuffing and carry on the the blanket stitch until he if fully sealed. To finish off take your needle back into the bird and out again at the back of the body. Pull tight then snip the thread and your end will disappear inside your bird so you have no visible knots.

Repeat until you have made up all three and hang with pride! If you like these – also check my felt Christmas Robins which are made from all felt and have cute little wings.

Lavender Bag Stacks – Crafty stocking filler

Need some crafty stocking fillers ideas? Everyone love lavender bags. You can knock a few sets of these up in an evening with very little skill and make a gorgeous stocking filler when tied up in threes with some lovely ribbon.

You will need:

Selection of fabrics (min of 30cm x 15 cm for each bag)

sewing machine

thread

ribbon

soft toy filling

dried lavender

Cut two 12cm x 12cm squares for each lavender bag you want to make. Pin the two together, right sides facing. On the sewing machine, sew round 3 sides using a straight stitch leaving a 1cm seam allowance. On the 4th side, sew half way across.  This will leave you an opening so you can fill your bag. Turn right side out and fill with a spoon full of dried lavender and some soft toy filling. Over stitch the opening. Repeat until you have three then tie up your favourite ribbon.  They look nice when made in contrasting fabrics.  I have a small Cath Kidston obsession so these are made with Provence Rose fabrics.  Or try a Christmas colour combination? Happy stitching.

Christmas Tree Pin Cushion

I wanted to make a simple cute pin cushion to go with my Christmas Needle felt case. It had to be christmassy (naturally), so check out this Christmas tree pin cushion.  Only a few bits of felt and some stuffing needed for this simple project as the pearl headed pins are themselves the decorations on the tree! I just added a bit of ribbon on the top for a final touch.

To make this cut out a circle for the base and a larger semi circle to make a cone. Stitch the two ends of the cone together and attach the circle to the bottom of cone, leaving about a 3cm opening. Turn your cone right side out, stuff with soft toy filling and over stitch the opening. Add pins and any other decoration you like!

Christmas Fayre Successes?

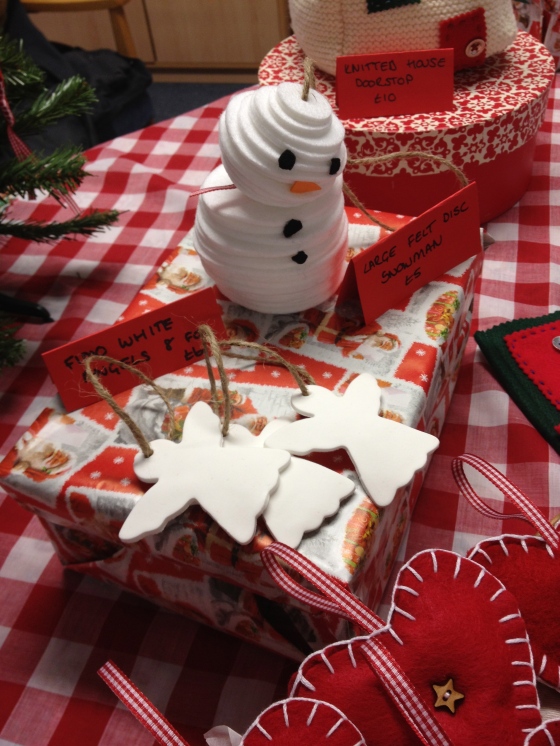
After visiting the Crafts for Christmas exhibition at the Birmingham NEC this year and stocking up with supplies, I was really excited to have a stall all of my own at a few Christmas Fayres on the run up to the festive season.  I’ve done two so far and have some pics below of my stall.

There are quite a few learns I took away with me after doing just these two but am really interested in your Christmas Fayre experiences, tips, pitfalls etc. I found that:

– Anything edible seems to go well – chocolate christmas pudding cupcakes sold out within about 20 mins

– People do not take huge amounts of money to Christmas Fayres (especially school ones) so have lots of cheaper items

– It is a good way to network and get possible future orders

– Make sure you have a good float with lots of change

– Oh and make sure you take sticky tape, blue tack, a pen, some bags for peoples purchases

– You can negotiate on stall prices (sometimes)

Would love to hear from others who have braved the Christmas Fayres this year and how you found it…… get in touch


Felt Christmas Decorations – Gingerbread Man, Robin, Christmas Pudding

More felt Christmas fun! I needed something to refresh my Christmas decorations this year but had no budget to buy any. Out comes the felt again! I got so addicted to making these I did a loads to put on my Christmas Fayre stalls.

I don’t have an patterns I’m afraid as I used a cookie cutter for the gingerbread man, draw round a mug for the christmas pudding and used the bird pattern from my Cath Kidston Sew! Book. Hope they inspire you to give them a go yourself though – It’s a great way to experiment with new stitches. Try incorporating blanket stitch, running stitch, french knots, cross stitch and get out your bag of material scraps & buttons to add interest like the gingerbread man’s bow tie and the button for the robins eye.

Felt Angry Birds Christmas Hanging Decorations

What is it about Angry Birds that has me hooked?! I’m 31 for crying out loud yet I just can’t put it down. I love it, my kids love it, in fact everyone I know loves it. And with so much Angry Bird merchandise about this Christmas it inspired me to have a go at making some Angry Bird Decorations from felt.

Materials needed:

Red, Yellow, Green, Blue, Black, Beige, Orange, White & Grey Felt

Different coloured embroidery threads

Ribbon

Soft toy filling

I have attached the pics I used as templates to make these. You will need to print out the pics, trace round each part of the bird or pig separately (I used some baking parchment to trace to shapes) and then cut out each part to create your pattern, pin each piece on to correct colour felt and draw round your template with some dressmakers chalk or a pencil. You will need 2 x pieces for the body. Cut out all your pieces with small scissors.

Using embroidery thread stitch on the face and chest of your bird or pig to the front piece of the body. I used french knots for the pupils in the eyes! Stitch any feathers the the inside of the back body piece so they stick out once you put the front and back together. Take a 15cm piece of ribbon, fold it in half and place near the top of the back piece.  Place the front piece on top and pin together. Now blanket stitch round the edge of your angry bird leaving a 2cm gap. Stuff in a bit of soft toy filling and continue blanket stitching until the birds are completely sealed.  Remove the pin holding the ribbon in place.

Get your angry birds templates here

Right – I just need to make the rest of them now! My son is going crazy for them. Will post more pics when I’ve finally finished!