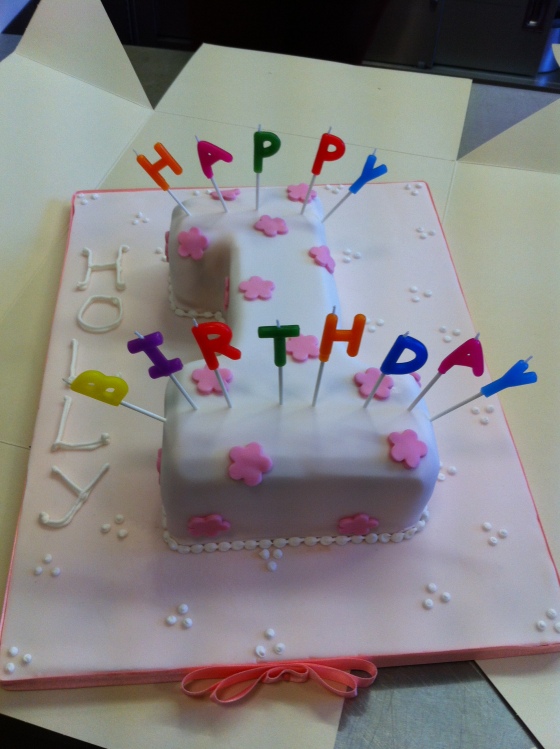
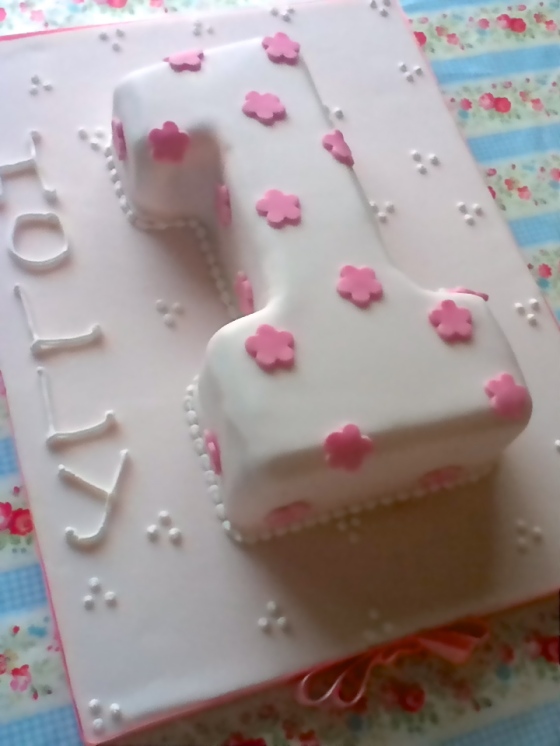
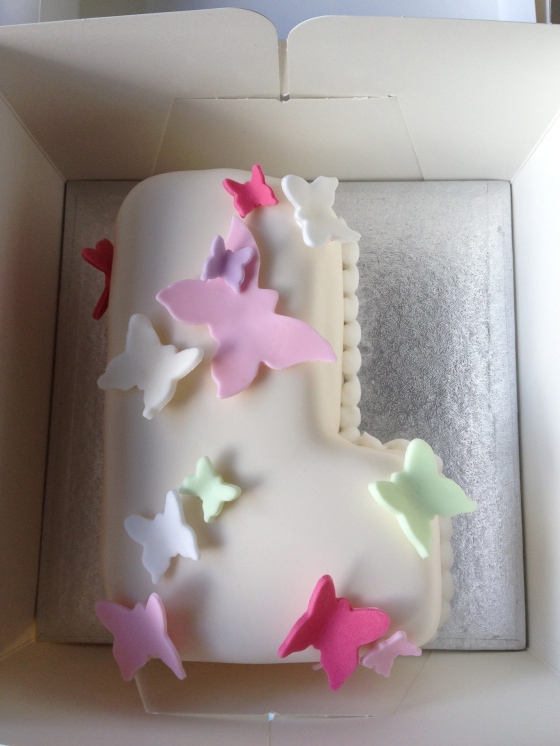
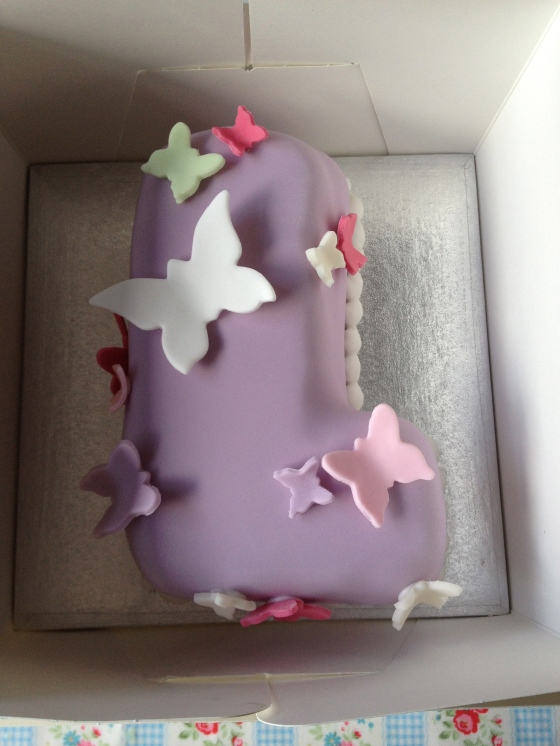
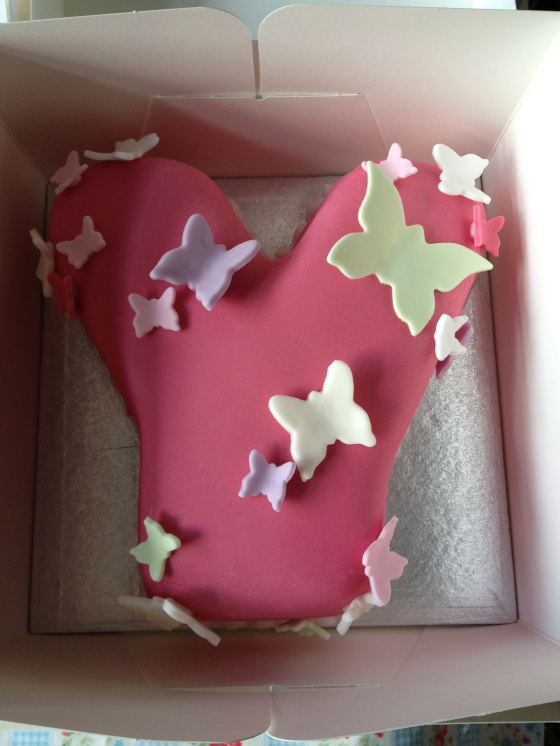
Girls Pink Flower First Birthday Number 1 Cake

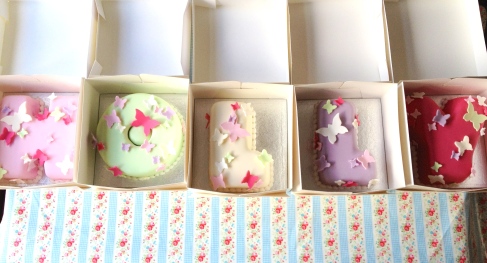
This time last year I was in the Birmingham Queen Elizabeth hospital visiting my niece Holly who was just a few hours old. Having been an Auntie for a full 12 months it made me realise how much has changed since then. I got married, started a new career, took my first holiday abroad in 12 years, found a stray kitten in the street…….and have continued to hone my cake decorating skills. Little by little. I’m still not amazing but I do try to give new techniques a go whenever I can.

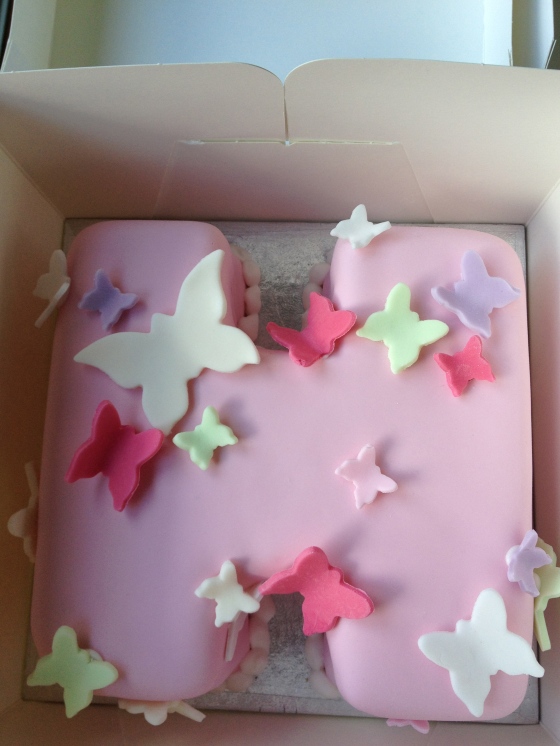
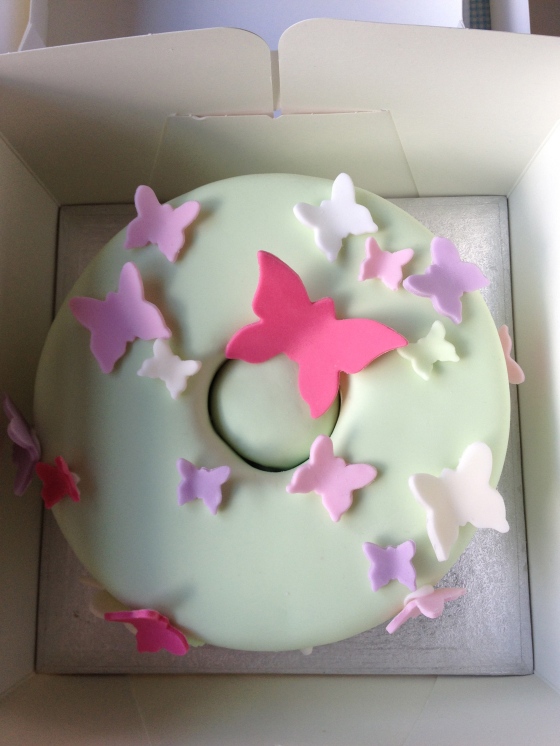
I’ve only used number tins once before so still don’t feel utterly confident with them yet. I struggle with baking times as it’s not as predicable as baking in a round or square tin and some of the shapes can be a pain (to put it nicely) to ice with fondant.

As they say, practice makes perfect I guess. Pretty pleased with todays results though:

Cerise Pink Star 30 Cake

My glamorous friend Sahira turned 30 recently and asked me to make her a bright pink 30 shaped cake. I’d been playing with cake wires recently so decided to go with a star theme and have some glittery stars exploding from the centre of the 0 like fireworks.

The colour is wild don’t you think?!

Baby Bump Cake

When thinking of ‘leaving to have a baby’ cakes I have seen in the past, traditional pink and blue square cake with abc blocks or a dummy for decoration = a tad predictable maybe? I wanted something a little more modern for a cake I was asked to make for a lady I used to work with as she breaks up for her maternity leave.

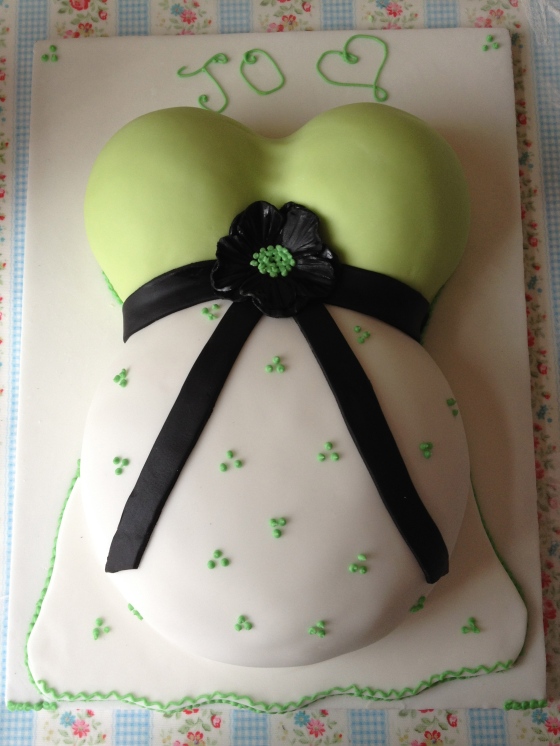
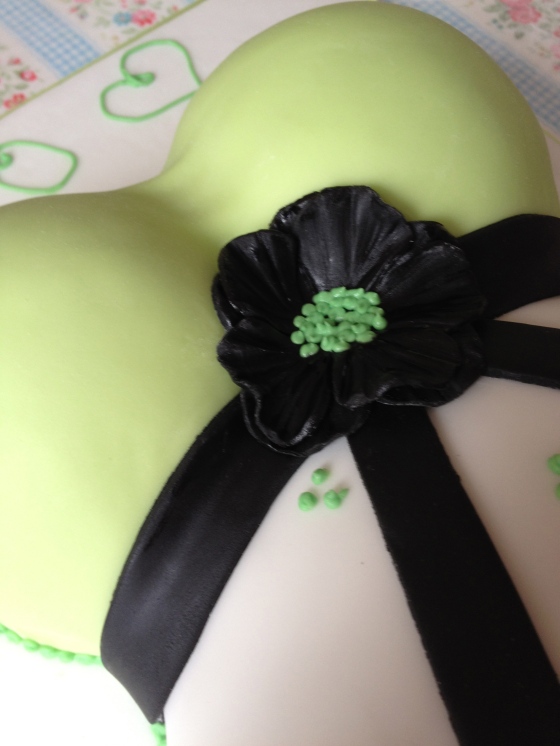
After looking around for some inspiration I kept coming across ‘Baby Bump’ cakes. Initially I found them a little creepy, but done well, they can be super cute and really flexible for decoration and colours. There’s no pink or blue here – the babies gender is not known – so I’ve gone for a modern edge with a lime green bust, white skirt and black ribbon and flower detail.

Now for the science bit………

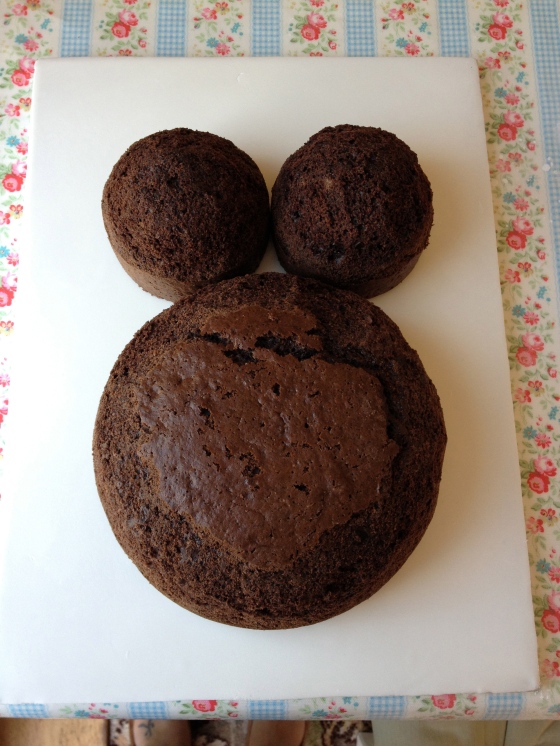
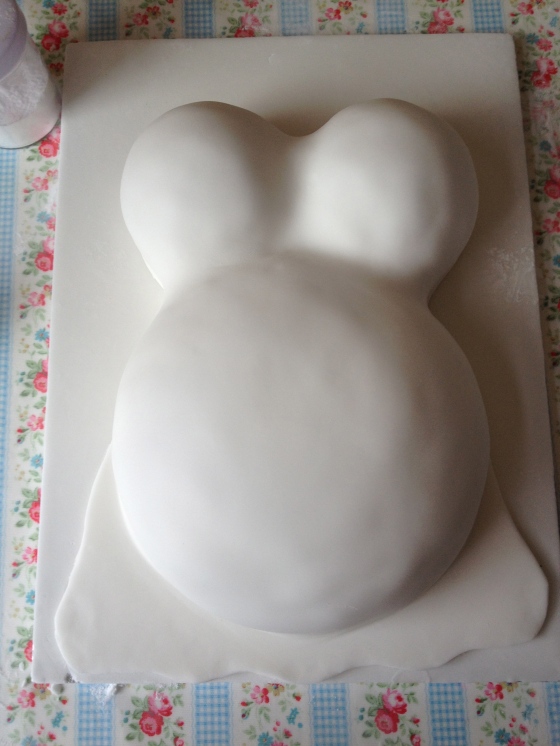
Some have used wilton football pans & large cupcake pans to create the bump and boobies of this cake.  I don’t have either of these pans and was certainly not going to go out and buy them specially so don’t despair if you don’t have them either. I used a 8″ deep round tin for the bump and 2 x 4″ pie tins (both lakeland) for the bust. Normally when baking, if you get a dome on the top of your cake it can be pain, not today! Go with it and trim the cakes into shape with a bread knife until your happy with your torso’s new curves.

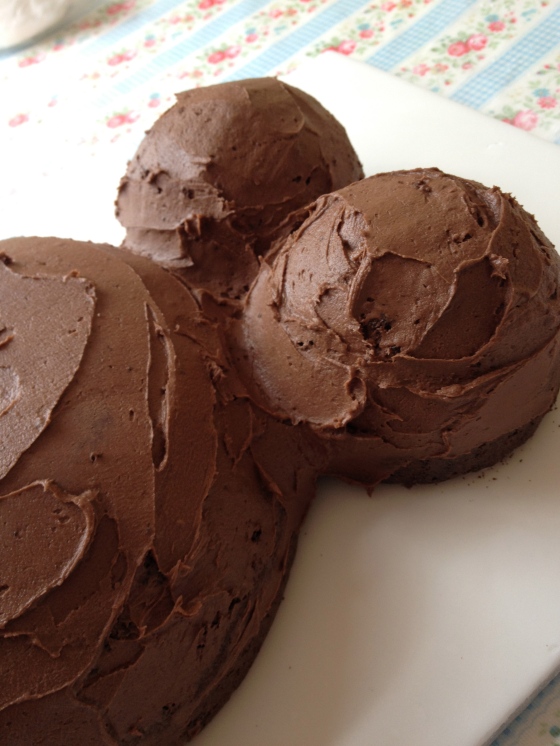
I have used a chocolate cake with chocolate buttercream filling. Whatever filling you choose, make extra so you can frost the entire cake to join the shapes and give it a nice smooth shape. I’ve said it before and I’ll say it again…. if your cake isn’t the right shape before you cover it in fondant, it certainly won’t be the right shape after covering it either. After frosting, pop it in the fridge for about an hour.

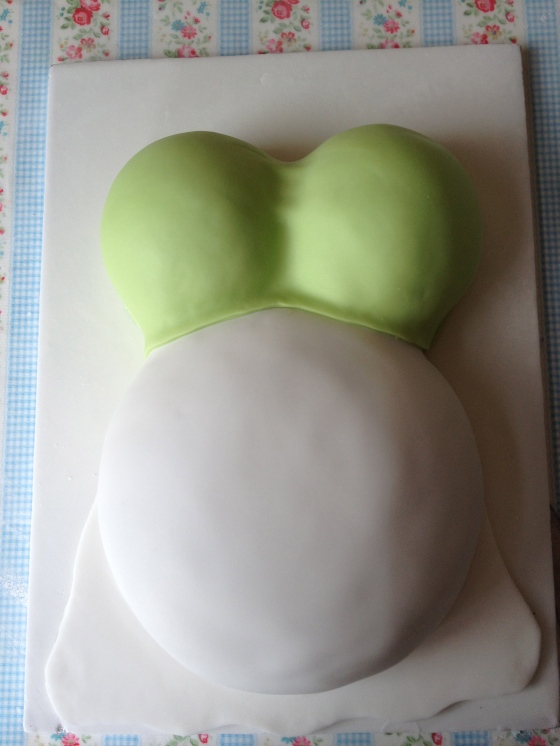
I like to ice the board as well when I can, which I did here before frosting. Now for covering. Cover completely in your base colour – in my case white. Trim and shape the skirt.

Roll out your contrasting colour and trim one edge so it is straight. This edge will sit under the bust. Cover the bust.

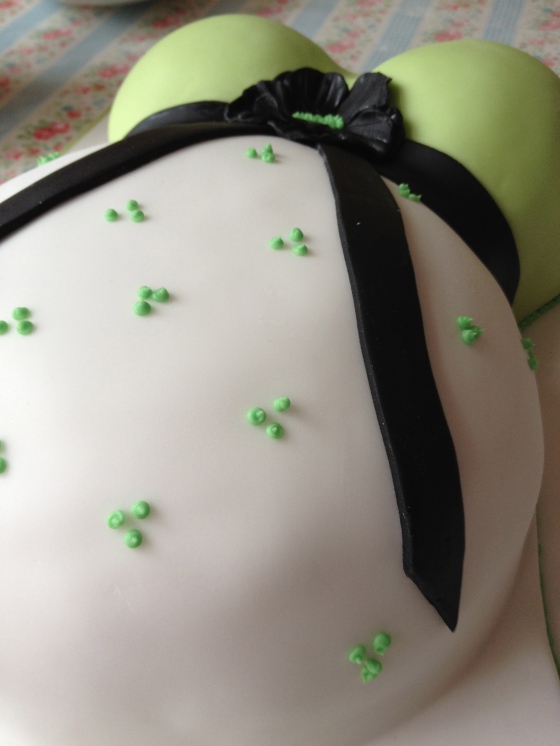
Roll & cut some 1″ strips in your ribbon colour and lay on across the under bust line. Use two long strips for the lengths of the ribbon. The flower was made using a 2.5″ flower cutter and fluting the edges with a cocktail stick, then piping the centre in royal icing. Finally finish as desired with any royal icing piping or boarder and a nice ribbon round the board.

Bye bye tummy, hello mummy!

Wedding Season Cakes & Craft – and a welcome back!

First off, my apologies for not posting for…well, way to long.  For those who don’t know I got married at the end of March and for obvious reasons this consumed all of my time!!

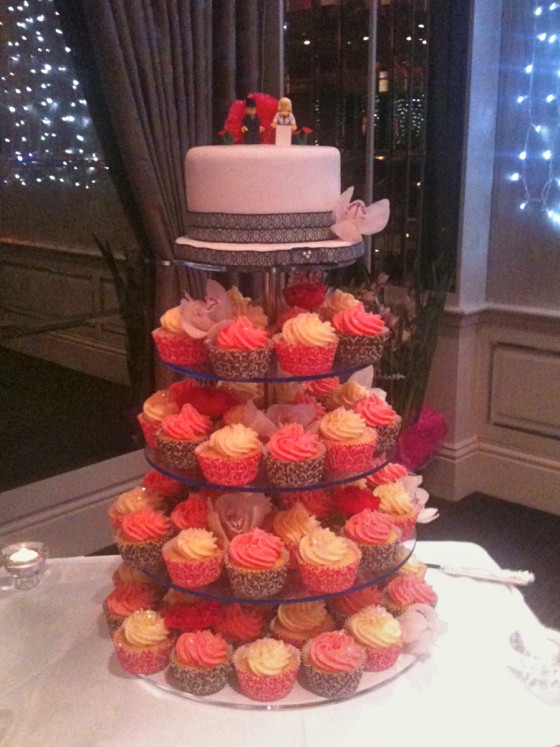
So, on a wedding note I thought I would kick off again with a wedding season post about my homemade wedding cake. I know I’m mad to have made my own but actually it wasn’t as stressful as I thought. I always think it’s more stressful to bake cakes for others than it is for yourself – less pressure and you’ve only got yourself to blame if it goes horribly wrong!

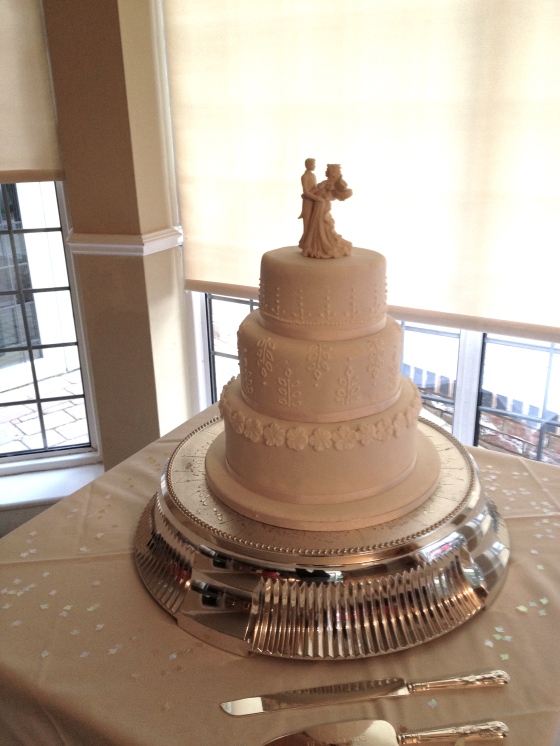
I baked 3 large fruit cakes bake before Christmas and lovingly feed them every couple of weeks with some brandy. My wedding was set the classic setting of Nuthurst Grange, Hockley Heath, West Midlands so I wanted a very traditional looking 3 tier white cake with a broaderie anglais textured feel. I completed this icing about 10 days before the big day so there were no last minute panics the night before. And here it is…..

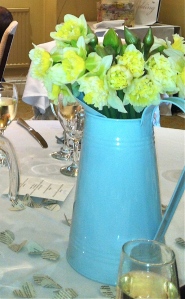
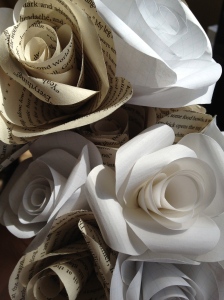
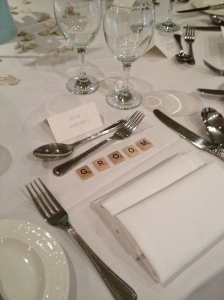
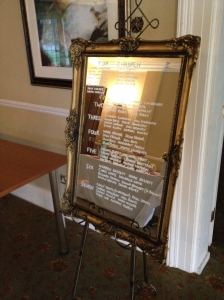
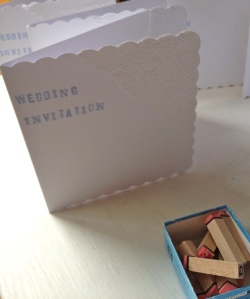
Needless to say there were lots of other handcrafted items at my wedding.  Here are just a few………..


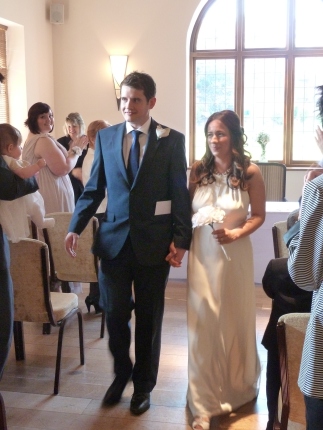
And here we are. All grown up. Mr & Mrs Manning.

Chocolate Rudolph the Reindeer Cupcakes

Pure chocolate fun, these cupcake can make use of those leftover sweets you have lying around at this time year. Everyone gets given a box of matchmakers right?!

I used my basic chocolate cupcake mix, piped some chocolate butter cream for the frosting and topped with mint chocolate sticks for antlers, red jelly tots or red smarties for rudolph noses (the smarties worked best – the red jelly tots weren’t really bright enough) and some black sugar paste with white pearls for eyes.

Here’s the cupcake recipe:

150g Self raising flour

175g Castor sugar

30g Cocoa powder

175g Butter

3 large eggs

2 tbsp of milk

1 tsp vanilla extract

Combine all ingredients with a hand mixer or by hand. Bake at Gas Mark 3 or 170c for approx 20 mins.

Christmas Star Cookies (or Biscuits for us Brits!)

They’re biscuits really aren’t they?! I do quite like that we have adopted the American ‘cookie’. It’s makes our decorated biscuits sound a tad cuter no?

I knocked these up fondant iced vanilla cookies for a Christmas Fayre I had a stall at a couple of weeks back.  The kids loved them and they are so simple to make.

You will need:

140g icing sugar

1/2 tsp vanilla extrect

1 large egg

250g butter

375g plain flour

250g of red sugar paste & 250g white sugarpaste

white royal icing or writing icing to decorate

Makes about 24

Pre heat the oven to 180c or gas mark 4 and grease  or line 2 large baking sheets

mix together the icing sugar, egg, butter and vanilla extract in a bowl. Add the flour and combine into a firm dough. Place to dough ih the fridge for at least 30 mins.  This will make it easier to handle and you cookie will hold their shape well when baked.

Roll out the dough to approx 1/2 inch thick and cut out your stars.  Try not to re roll the dough more than once or it will become tough.

Bake for approx 12 mins or until golden.

Once the cookies are fully cooled, roll out your sugar paste to approx 1/4 inch thick and cut out your icing stars using the same cutter as the cookies so they fit perfectly. Stick them to your cookies with a smear of royal icing. Now just add some detail to your cookies with the rest of your royal icing or writing icing.


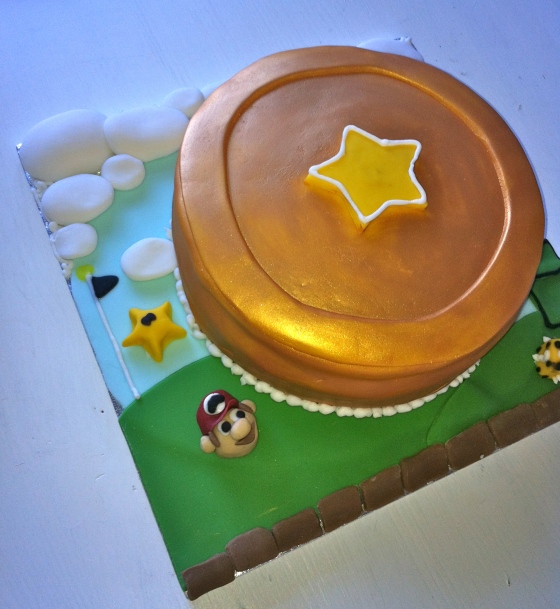
Mario Gold Coin Birthday Cake

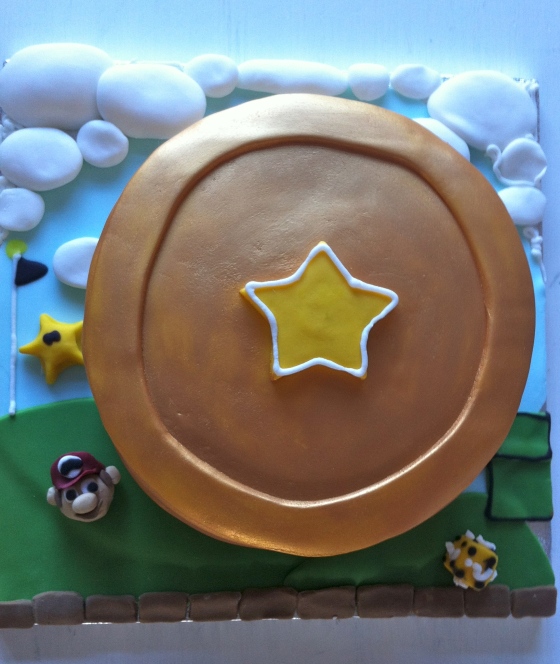
I made this cake for Hubby’s 11 year old son for his birthday in October. It went down a treat and was my first attempt at any real character based cakes so I was too scared to attempt a full Mario Face Cake so opted for a Giant Mario Gold Coin and Mario based background.

This was made with an 8″ round chocolate sponge covered with yellow sugar paste and brushed with gold edible lustre. I can’t really tell you how I made the background as it just seemed to evolve! Would love to hear your comments…

Star Wars Millenium Falcon Cake

Its the cake that puts the fear of dread into most cake makers. Normally the conversation goes like this…..

Friend: ‘Will you make the cake for my/{insert loved one here}’s  birthday cake?’

Me: Sure, what are you looking for?

Friend ‘The Millenium Falcon’

My Head: Argghhhh!

Me: Of course!

My Head: Oh my god – this cake is going to look like something you would see on cakewrecks.com

Well, it turned out pretty well as it goes. Although, it felt more like a piece of engineering at times more than baking. Here’s how I did it:
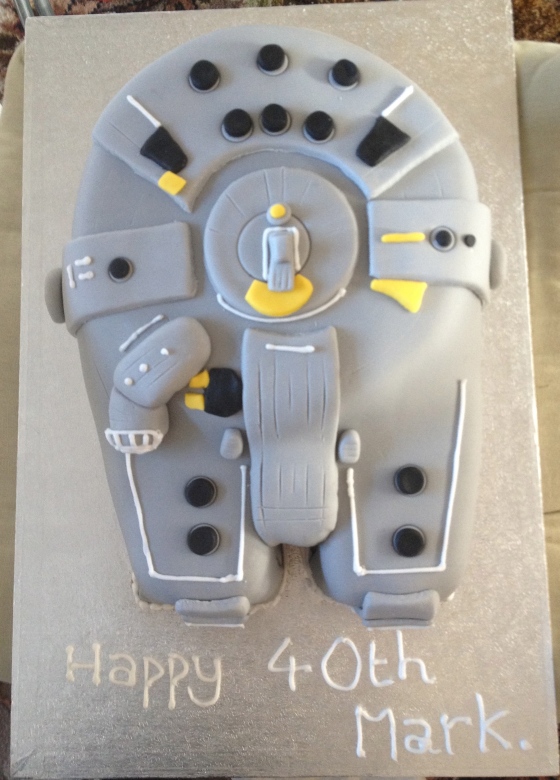
Make up enough cake batter to fill an 8″ round deep tin and a standard loaf tin.  The cake baked in the loaf tin will be used to cut out the front sections of the millenium falcon and it only needs to be about 2″ when baked rather than the 3″ of your round cake.

One baked and cooled, split the round cake and fill with butter cream and jam if required.  I made a chocolate cake for this one so it was filled with chocolate buttercream. Place the round cake off centre on a large rectangular cake board. Now use a bread knife and cut out two 3″ x 2.5″ rectangles from your loaf tin cake. Trim one side of each at an angle to make them wider at the top (this end will be attached to your round cake) and sloping down to a narrower end. Also cut a small 1″ square from the loaf tin cake which will be placed in between to two ends. Arrange them all on the board.  Feel free to use any left over bits of cake from the loaf tin to fill in any gaps and improve your shape.

Once your happy with the basic shape you need to crumb crust the cake with buttercream to cement it all together and give you a nice smooth base before going anywhere near it with your sugar paste.  So, slather it in butter cream and smooth it over with a palate knife, ensuring all gaps are filled and you have a good solid shape all over, right down to the board. Clean off any excess on the board with some kitchen roll.

Refridgerate for at least an hour, preferably overnight.

Remove from the fridge and start to prepare your sugar paste. You will need approx 1.5 kg of grey sugar paste and small amounts of black and yellow. Roll out about 1.2 kg of the grey to approx 1/4 inch thick and lay over the cake.  Gently smooth it round all the edges.  When you reach the two ends, I found it easier to cut a slit in between them with a knife to ease the sugar paste round these tricky parts. Smooth over the whole cake with an icing smoother or some sugar paste wrapped in cling film. Trim all the way round the cake.

Roll out the rest of the grey sugar paste and cut out a small circle for the middle, a larger semi circle which you can trim for the back of the ship, three 1″ wide long strips and any other bits you want to add on. You can either follow my picture or there are tonnes of pictures of the millennium falcon online so go as detailed as you want!

Roll out your yellow and black and cut out your other detail.

Pipe round the edge of the cake and add your final touches with piped white royal icing and score knife makes for extra detailing.